- Download latest ViewIQ Installer from your Account at https://myxraydose.com/my-account/
- Run the ViewIQInstall.msi installer.
- Launch the ViewIQ Application.
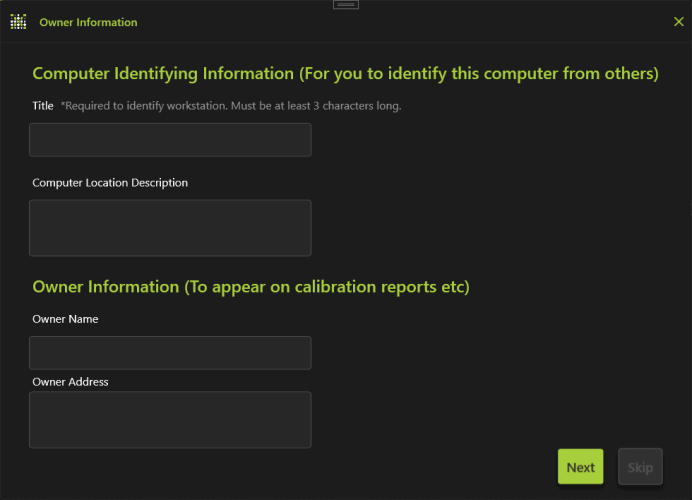
- The first time it runs it will ask you to enter:
- Owner information.
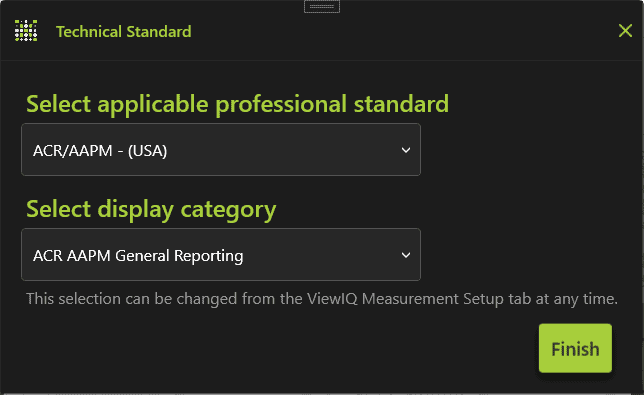
- Calibration standard to use
- This information will set the defaults be printed on the top of calibration reports. It can be changed at anytime on the setup page
- Add Owner details – add a computer name that lets you uniquely identify which workstation you are calibrating.
- Select the appropriate standard
- Plug in X-Rite i1Display Pro (1D3 OEM version only) photometer into USB port on computer being calibrated. (Photometer and software license available from https://myxraydose.com/shop/.)
- Click Identify Displays to show which display corresponds to which entry in the list
- Click on the display that you would like to calibrate and click Start Calibration
- Place the glass lens side of the photometer in the center of the black square
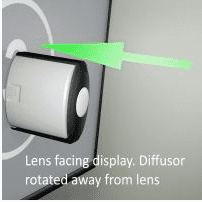
- Click Start Calibration and do not move photometer until the window closes
- Check results are in tolerance.
- Click Measure Uniformity, and follow instructions on the screen
- Flip diffuser over so it covers the photometer lens and place on the display facing outwards
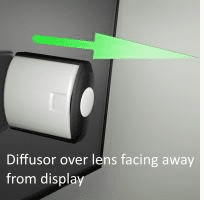
- Click Measure Illuminance (lux)
- If this measurement results in a fail then reduce the room lighting and eliminate sources of light directly reflecting off the display.
- Check all measurements pass
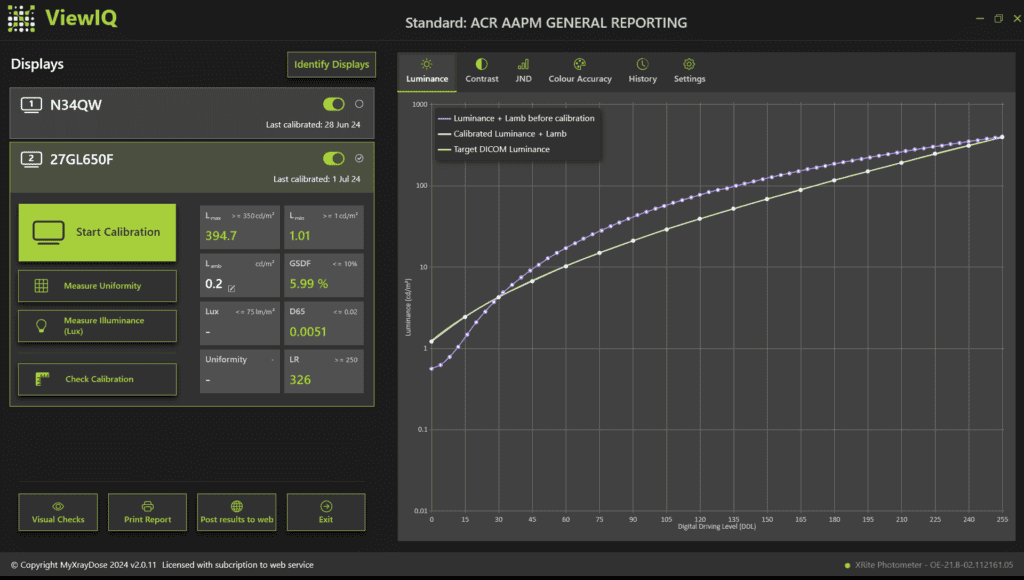
- Print Report to create PDF for your records
- If not already done then Activate license to continue to apply calibrations past trial period.
- Click Exit
- Ensure the room lighting is maintained at a level appropriate for medical image viewing.
Tip:
The default calibration factors applied presume that the display has minimal reflections from the surface. To minimize reflections the monitor needs to be in a room with subdued lighting and no significant reflections from external windows or other bright light sources in the room.
